Now that Microsoft has made PowerShell open source it can be installed on Mac OS X and Linux. In this article I’ll discuss the steps on installing it on Linux Ubuntu.
Step 1 – Download the package
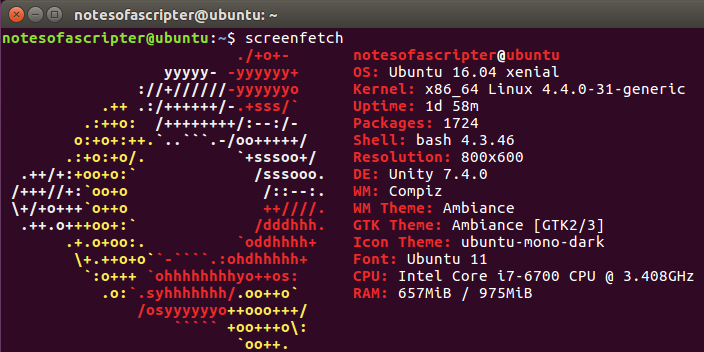
As seen in the image above, I have the newest distro of Ubuntu. The first step into getting PowerShell installed is downloading the package from Github as it hasn’t been added to any of the repositories yet.
sudo wget https://github.com/PowerShell/PowerShell/releases/download/v6.0.0-alpha.9/powershell_6.0.0-alpha.9-1ubuntu1.16.04.1_amd64.deb

Once the package has finished downloading the following might be optional packages for the PowerShell application to work.
sudo apt-get install libunwind8 libicu55
Step 2 – Install the package
Now that all of the optional packages has been installed, now we can start the install of the PowerShell package
sudo dpkg -i powershell_6.0.0-alpha.9-1ubuntu1.16.04.1_amd64.deb

Step 3 – Enjoy PowerShell on Linux
Once the install is complete, you just need to type PowerShell at the prompt to start it. Then you will notice that the prompt will change to have PS at the start of it long with your user folder.

Now that PowerShell is running, you can look to see what all commands are available.
Get-Module -ListAvailable | % {(Get-Module $_.name).ExportedCmdlets | FT -Autosize}
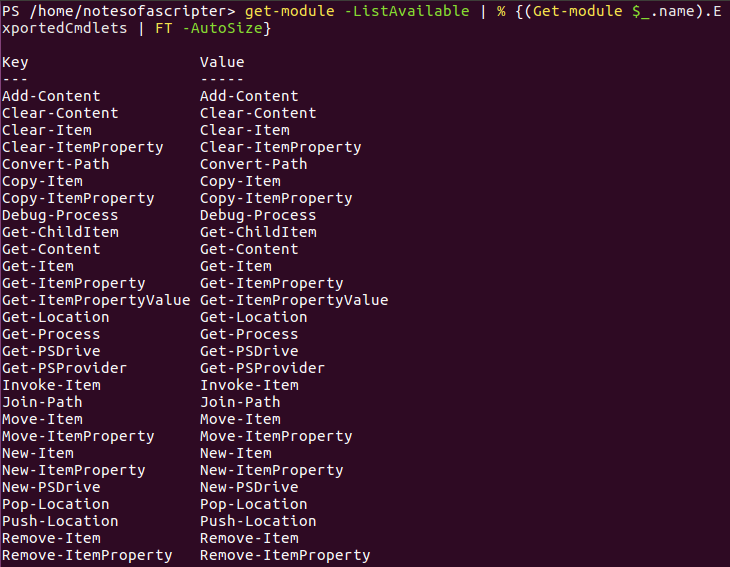
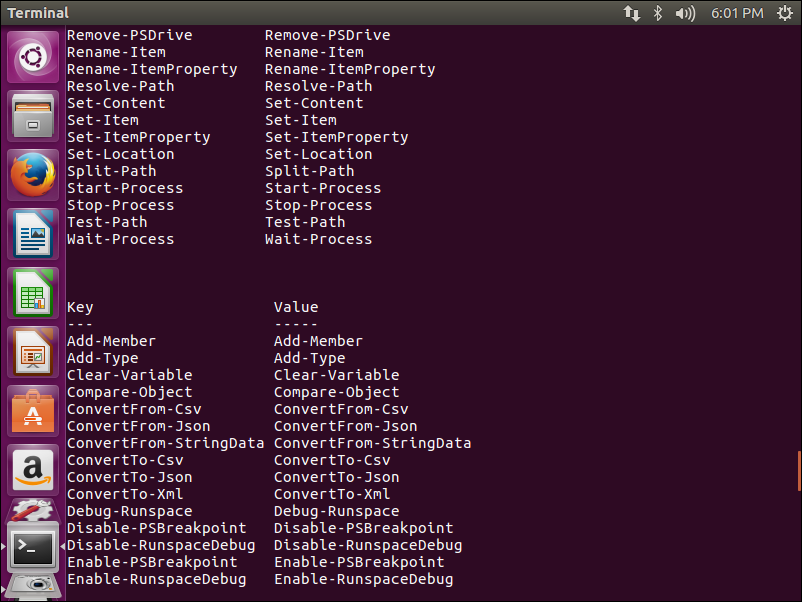
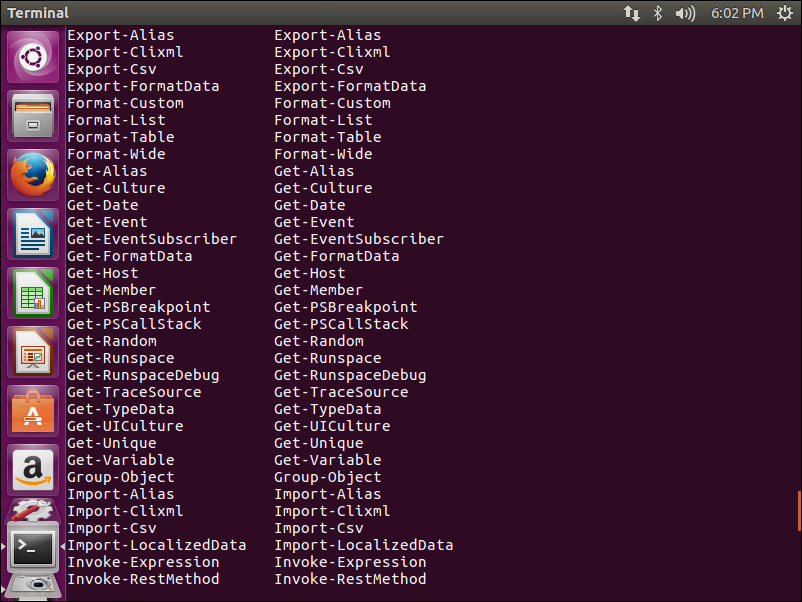

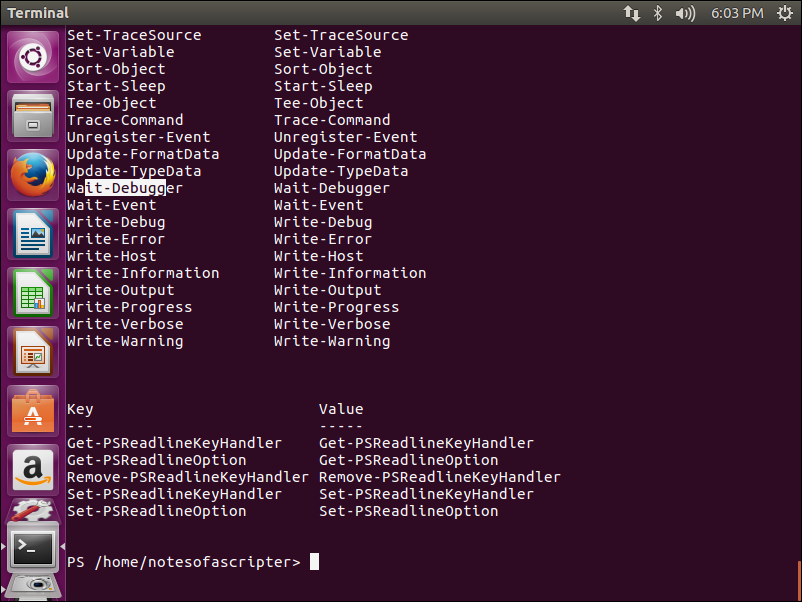
As you can see from the images above, it looks like a full install of PowerShell.
-Stuart